
5 Tips for Successful Software Prototyping
Prototyping goes hand in hand with creating almost any software solution. Improving a prototype is significantly faster, easier, and cheaper than introducing improvements to a ready-made solution.
Decisions are made faster, and projects run better if all parties have the same understanding of prototyping principles. We took a closer look at Trinidad Wiseman's design team to determine what the customer could understand and want when prototyping their solution. Here are 5 suggestions to keep in mind for successful prototyping.
1. Use a component-based approach.
This means that the user interface elements that will represent the prototype (e.g., buttons, labels, tables, messages) must be approached systematically.
For example, in the case of buttons, it is important to create specific variations of them for different views. How is that done? Let us say that your goal is to get the user to click on a specific element on the landing page – to achieve that, a big bold button will be placed on the landing page.
But in other views, where you will need to use more buttons, you will need to use the same button you used on the landing page, but in a smaller format. Sometimes, you may also need a third view (e.g., of a table) with a lot of buttons – there, you will need and even smaller version of that same button.
Right in the beginning of the project, you should determine how many different sizes of buttons are needed for the project and then systemise them. It is also useful to try and create as many reusable elements in the project as possible.
By keeping the design and development going at the same pace from the start, it will be much easier to write code later on. Additionally, by doing this, the end result is much more likely to meet the client’s expectations and match the initial design of the solution.

A good designer will always take a systematic approach towards components but as the saying goes – the customer is king. This makes it even more important to ensure that the client understands why, for example, the buttons have the sizes they have been assigned by the designer in different views.
In case the client still does not understand and wants the component to be of a slightly different size (if only a couple of pixels different) in each view, then each tiniest change will create a lot of extra work during the development phase later on and will also unavoidably increase the project’s costs.
If you can already think about how to systemise the components during the prototyping phase, then the project will be a lot faster and more cost-effective to realise and much easier for all parties to manage.
2. Ask for usability testing with actual devices.
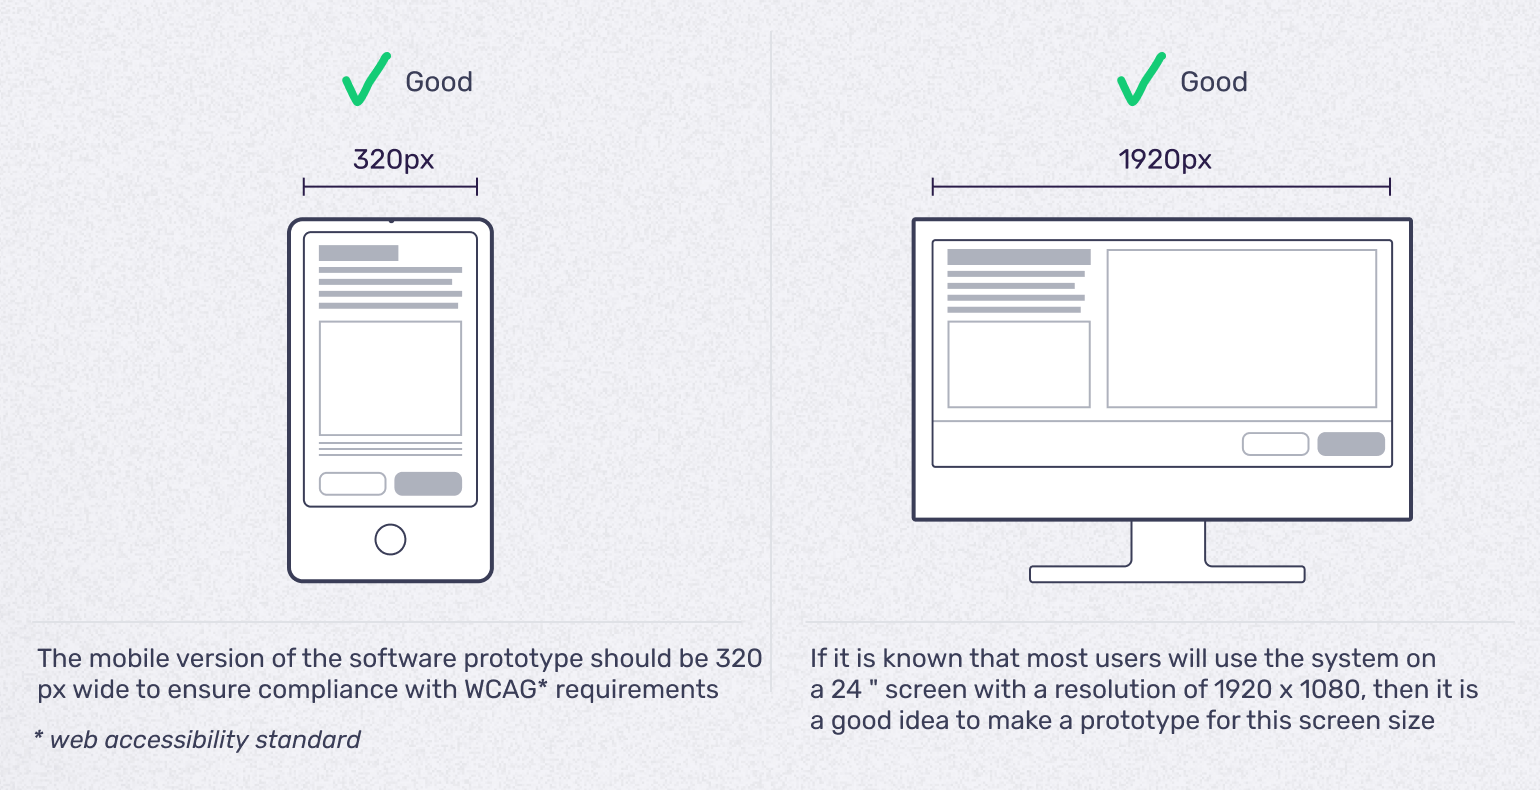
Once the project has passed the paper prototyping phase (e.g., a wireframe or software prototype is now being created), then the prototypes should be inspected from actual devices. As soon as you know which devices the final solution will be used on, you should inform the project team as that helps us to better fulfil the expectations for that specific device.
For example, if the end users will be using the solution on their smartphones, then we recommend conducting usability testing on smartphones, and if the design is meant to be implement on a tablet, then it should be tested on that.
This will help create the best feel for the solution and to avoid unpleasant surprises down the line. For example, designs will look very different dependent on whether they are displayed on a big screen or a smartphone – the resolutions may not match, which would mean that the whole view may not even fit on a smaller screen. It is also important to test the solution in the environment it is meant to be used in (e.g., indoors or outdoors).
A good user experience during the prototype testing can increase user satisfaction and help to save the budget as it allows us to optimise for a specific device and avoid having to redo things afterwards. This is especially true for companies where all employees use the same device.
It is always possibly to adapt the prototype for different screens and devices as well, but that require more work, time, and a bigger budget. So, if you do not need a responsive solution, then you can save costs on that.
3. Think about what is business-critical and focus on that.
Prototyping is one step on the road to delivering the product to the end users and the prototype does not have to be perfect in all aspects. The prototype is not a separate goal but a tool for faster and easier development.
That's why we recommend thinking about priorities - which parts are most business-critical in your product? This part could be the most elaborate in the prototype, i.e., the business-critical elements must be designed in detail and as close as possible to the final product.

Based on priorities, we can direct resources - in the case of business-critical views, we test different usage cases and try to make them fully operational in the prototype. We can pay less attention to non-business critical parts' user interface. This helps keep the project in focus, especially on a tight budget.
4. Validate your prototype with end users.
Always involve end users by showing them the prototype. Even if it seems like the prototype does not fully look like the final product, you should not be afraid of doing so.
When testing a low-fidelity prototype, the focus is not on getting it approved, but on whether end users would use it the way that we, the system’s creators, would want them to use it or whether they understand it as it is meant to be understood.
This is not a test on how much the user likes it, but one where we ask the user to solve different tasks on the prototype to see if they are able to do it or, if they get stuck, to figure out where and why they get stuck so we can make the necessary corrections.

This point is very important for organisations where employee tasks are classified, and external partners are not allowed to know the exact details concerning them. In these cases, organising a meeting may be more complicated, but it is still extremely important to enable the designer to conduct usability testing with a real end user on an actual device.
Only then, by being able to collect immediate feedback from the end user and to observe their actions during the test, can the designer identify issues and remove obstacles, thus ensuring that the final solution is user-friendly.
5. Ask about the prototypes being used.
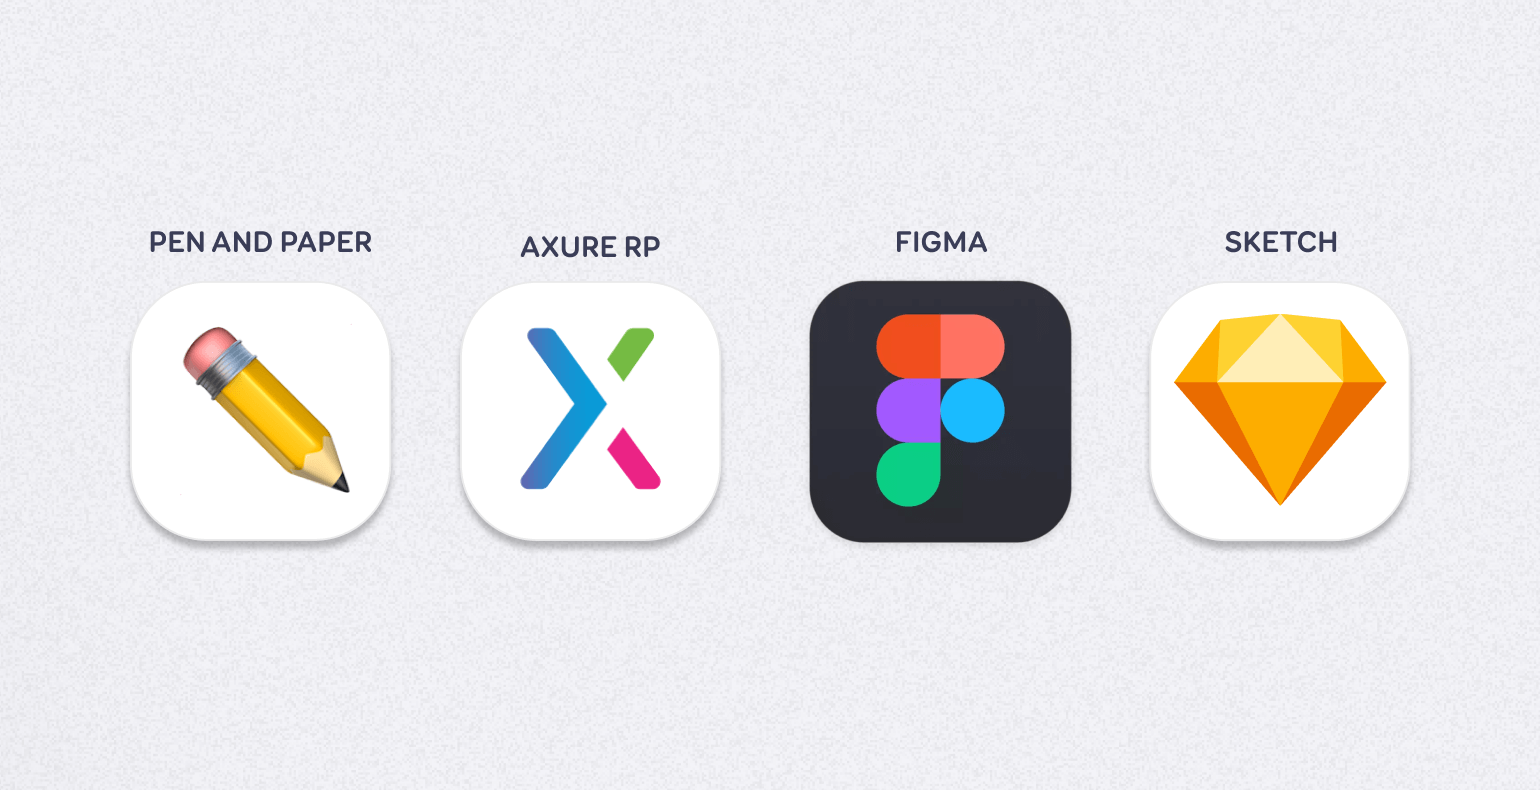
The following is a brief overview of the kinds of tools we at Trinidad Wiseman use and their pros and cons:
- pen and paper
The lowest level prototypes we use are sketches or drawings on a paper/wall. These can easily be made with the client and are quick to iterate.
- Axure
The next level is a wireframe prototype, which we can create using a pen and paper or software. We use Axure whenever we wish to create complex interactions, allow the user to enter data, or test different versions of the prototype.
The cons: may be more complicated for a beginner designer to learn to use; difficult to adjust the beautiful, fine details of the design; it is also complicated to use Axure for passing on information about the precise colours and text styles to developers.
- Figma, Sketch
In addition to Axure, we also use the design/UI programmes Figma and Sketch, which we can use to create wireframe prototypes and pixel-perfect designs. We can also use these to hand over design decisions.
Technically, both Figma and Sketch can be used to create prototypes with easier interactions, but their options are rather limited. We can create movement between different views, but it is extremely complicated if not impossible to create prototypes where you can enter data.
To sum up the above, if the client asks for something interactive, we use Axure, but since we also need to create a UI design for the solution, then we also use Figma or Sketch. For projects where the prototype does not have to be very interactive (e.g., an online shop or an informational website), we only use Figma or Sketch.
You can also read our previous articles about prototyping:
A prototype is a plan, not just a sketch
Prototyping is more than just folding a paper plane
Prototyping: better communication and smaller expenses
How do prototypes complement analyses?


